

TL;DR: Compare power figures only after identifying the supply point, operating mode and included devices. The 5W, 8W and 32W references below describe different specified configurations, not a size-based rule or a common-condition test. Count each physical load once and confirm the complete ordered system before sample approval.
Vehicle monitor power consumption is easy to overlook when a buyer is concentrating on screen size, resolution, camera inputs, or connector design. Yet the monitor becomes one load within a larger vehicle electrical system. Cameras, an MDVR, wireless receivers, alarms, and other accessories may draw from the same planned supply.
A useful specification review starts with a clear distinction. Input voltage range tells the buyer which supply range a monitor is designed to accept. Power consumption states a load value, usually in watts. Current is another electrical quantity and may vary with input conditions and operating mode. These fields are related, but one cannot replace the others in a purchase specification.
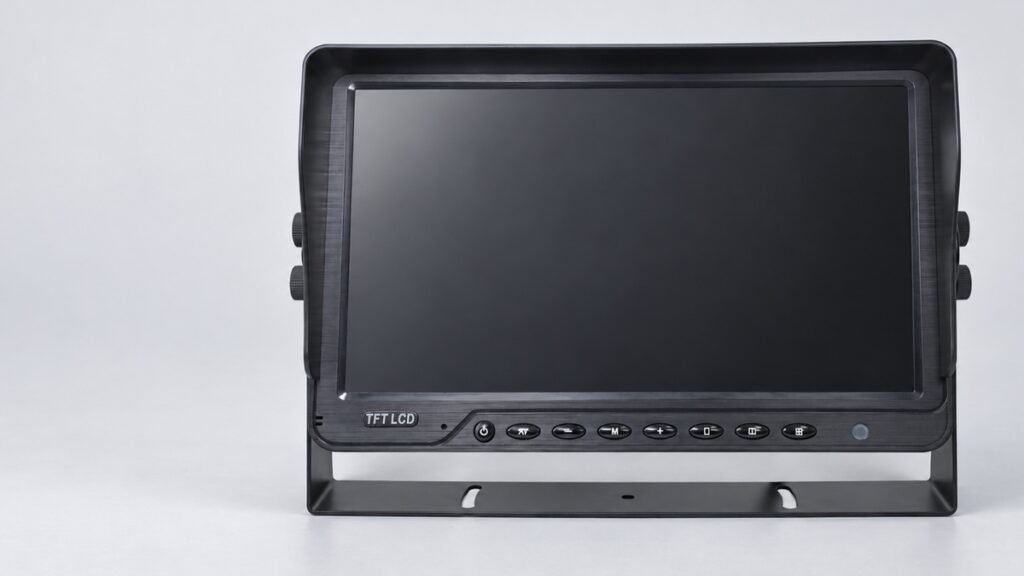
Available Xinvisual product specifications show why buyers should check the exact configuration. A reviewed 7-inch monitor reference lists 5W, a reviewed 10.1-inch reference lists 8W, and a reviewed 18.5-inch roof-mounted reference lists 32W. These are product-specific examples, not universal values for every monitor of the same size. The right next step is to lock the intended bill of materials and verify the complete system under representative operating conditions.
What Vehicle Monitor Power Consumption Tells a Buyer
The listed wattage gives procurement and engineering teams a starting point for the monitor's electrical load. It can support component comparison, preliminary system budgeting, sample-test planning, and discussions with the vehicle electrical engineer.
It does not, by itself, establish the following:
- startup or inrush behavior;
- standby consumption;
- consumption at every brightness or volume setting;
- power delivered from the monitor to connected cameras;
- the load of an MDVR, wireless receiver, or alarm;
- suitable fuse, cable, or protection-component ratings; or
- engine-off operating time from a particular battery.
The reviewed Xinvisual files do not provide a shared test method for the listed wattage values. Buyers should therefore use the figures as available specifications and request configuration-specific test evidence when power margins are important.
Application Scenarios
Single-Monitor Retrofit
A basic reversing or side-view retrofit may use one monitor and one or more cameras. Even when the monitor load is modest, the installer needs to know whether the monitor powers any camera channels or whether each device has a separate supply. Those arrangements produce different wiring and load calculations.
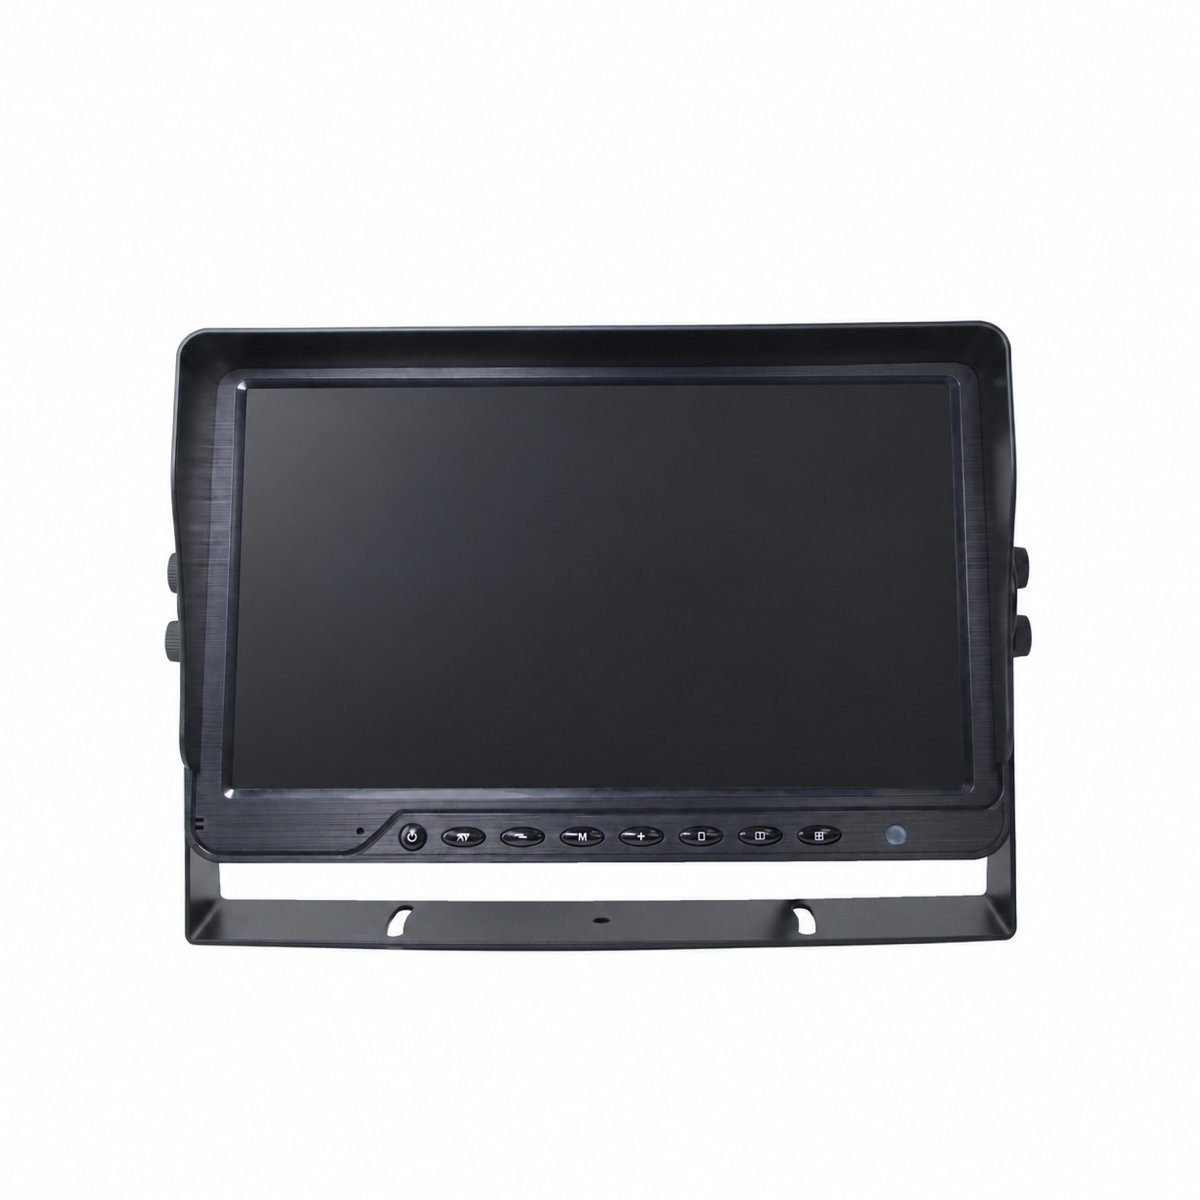
Confirm the monitor's input range, listed power consumption, camera power arrangement, connector pinout, trigger wiring, and grounding plan as separate items. Xinvisual's vehicle monitor category provides a starting point for physical formats, but the selected configuration still needs a matched specification.
Multi-Camera or Recorded System
A four-camera system may include a monitor, cameras, an MDVR with storage, wireless equipment, and a warning device. First confirm what each power figure includes and where it is measured. A monitor-only figure does not cover separately powered equipment. If a measured monitor-input figure already includes cameras supplied through the monitor, adding those camera loads again would double-count them. Keep continuous, switched, and optional loads identifiable, and confirm the total for the complete ordered configuration.
The monitor may also change operating state when a trigger wire activates a camera view. The existing vehicle monitor trigger-wire guide owns that control-logic topic. For power planning, the buyer only needs to record which operating modes must be included in the sample test.
Roof-Mounted Passenger Display
Large roof-mounted displays serve a different application from compact driver monitors. The reviewed 18.5-inch reference lists 32W, compared with 5W and 8W in the two smaller examples. Screen size alone still cannot predict load because panel, backlight, audio, media, and configuration choices can differ.
For passenger vehicles, buses, coaches, or other roof-display projects, document how many displays are installed, when they operate, and which media or audio functions are active during testing. Review the roof-mounted monitor category for format options, then request the exact power specification for the ordered version.
Battery-Sensitive or Engine-Off Operation
Some fleets want a display available before engine start, during loading, or while a vehicle is parked. A wattage value is not enough to promise operating time. Battery capacity, battery condition, ambient temperature, other active loads, protection strategy, conversion losses, and the monitor's actual operating mode all matter.
Do not turn a catalog wattage into a runtime claim without a defined electrical model and test. If engine-off operation is required, state the duration and operating mode in the RFQ, then have the vehicle electrical owner approve the result.
Technical Considerations Before Selection
1. Separate Voltage Range from Wattage
A monitor marked for a wide input range is designed around supply compatibility, while watts describe load. The available examples include DC10V-36V and DC12V-36V input ranges, but those ranges do not mean the monitors consume 10W, 12W, or 36W.
The existing wide-voltage guide covers voltage compatibility in detail. Keep the new purchase line specific: input-voltage range, listed power consumption, and any test condition should occupy separate fields.
2. Define the Boundary of the Power Figure
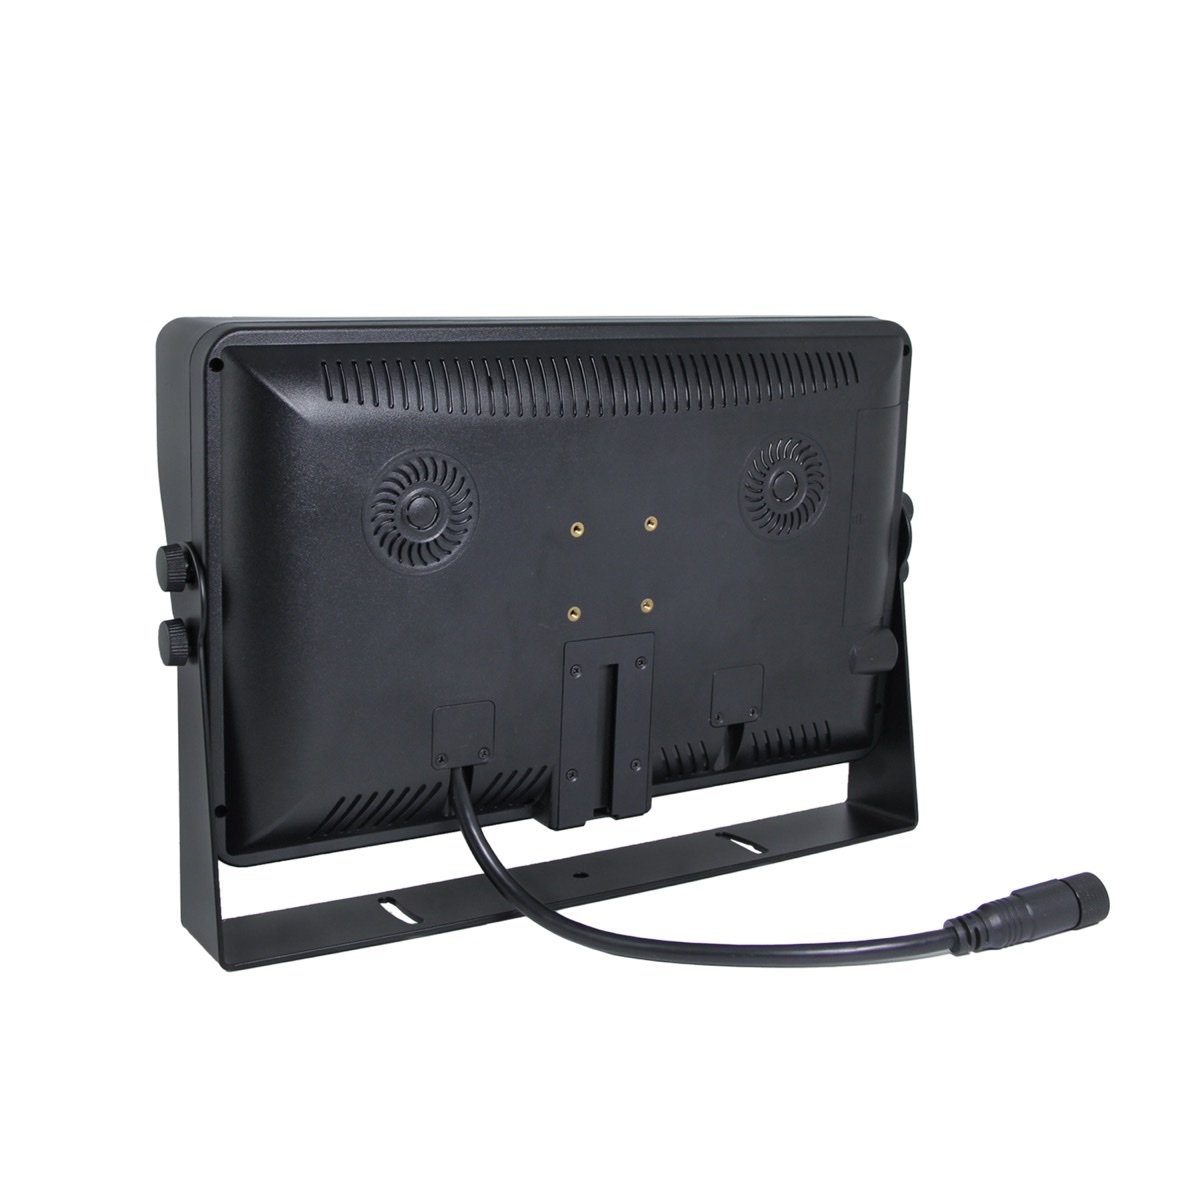
Ask whether the stated value covers only the monitor or includes any camera power output. Available Xinvisual monitor families can have different camera-power arrangements, so a buyer should not assume that every camera draws through the monitor.
For each channel, record the power source and the conditions under which it is active. If the supplier cannot confirm whether camera load is included, mark the system total as unconfirmed and measure the approved sample.
3. Build a Complete Load Schedule
List every powered component in the proposed system:
- monitor or roof display;
- each camera;
- MDVR or other recorder;
- wireless transmitter and receiver;
- AI processing or warning module;
- external speaker, buzzer, or warning lamp; and
- any converter, splitter, or interface module.
For each value, record its source, supply point, operating mode, and included devices. Count each physical load once: list a recorder's storage separately only when the recorder figure excludes it, and check the same boundary for camera outputs and built-in wireless hardware. Do not mix typical, maximum, and measured figures in one total. If a maximum value is required for design approval, request that exact field and its test conditions rather than substituting a typical catalog number. Have the qualified vehicle electrical owner review the final load schedule and installation protection.
4. Test Representative Operating Modes
Create a short test matrix before sample approval. Include power-on, normal single view, split view where applicable, high and low brightness, trigger activation, recording, wireless operation, audio, and engine-off mode only when those functions are part of the order.
The source files reviewed for this article do not state startup, standby, or mode-by-mode values. Those points remain unconfirmed until a supplier document or sample measurement provides them.
5. Match the Sample to the Production Configuration
Power consumption can change when the panel, backlight, input count, recorder function, audio hardware, or accessories change. The sample record should identify the monitor version, screen size, video inputs, signal format, connector, cable set, powered accessories, settings, and software version where relevant.
Repeat orders should reference that approved configuration. A family name or screen size alone is not enough for electrical sign-off.
6. Leave Protection Design to the Vehicle Electrical Owner
Fuse selection, conductor size, grounding, isolation, and circuit protection depend on the vehicle, harness length, installation method, ambient conditions, and the total load. The available product files do not support a universal fuse or wire-size recommendation.
The supplier should provide model-specific electrical information. A qualified vehicle electrical engineer or installer should approve the final circuit and verify it on the target vehicle.
Available Xinvisual Specification Examples
The following table summarizes only values confirmed in available Xinvisual product files. It is not a product ranking, and it does not imply that every configuration with the same screen size uses the same power.
| Reference Configuration | Listed Input Range | Listed Power Consumption | Buyer Use |
|---|---|---|---|
| 7-inch four-input AHD monitor reference | DC10V-36V | 5W | Compact driver-monitor load reference; confirm whether connected camera loads are separate. |
| 10.1-inch four-input AHD monitor reference | DC12V-36V | 8W | Larger driver-monitor reference; test the ordered input and display configuration. |
| 18.5-inch roof-mounted monitor reference | DC10V-36V | 32W | Passenger-display reference; confirm installed quantity and active media or audio functions. |
The files do not provide one common wattage test method, startup value, standby value, or setting-by-setting power curve. Those details must not be inferred from the table.
Product and System Selection Guidance
Start with the operating task, not the lowest wattage. A smaller load does not compensate for an unsuitable screen size, insufficient camera inputs, an incompatible signal, or poor mounting geometry. First define the view the operator needs and the system architecture. Then compare power within configurations that satisfy those requirements.
For an RFQ, ask the supplier to return a configuration sheet with the following electrical fields: input range, listed or maximum power consumption, test condition, camera-power arrangement, connector and pinout, protection features, and any known startup or standby figures. Mark unavailable fields clearly.
During sample approval, measure the complete system at the planned supply points and operating modes. Retain the results with the bill of materials. This gives purchasing teams a repeatable reference and helps installers distinguish a product change from a vehicle-side electrical issue.
Common Buyer Mistakes
Treating 12V or 24V as a Power-Consumption Figure
Voltage identifies supply conditions. It does not state the electrical load in watts.
Adding the Monitor but Omitting Cameras and Accessories
A system budget must include every powered device, including recorders, receivers, and warning modules.
Assuming One Wattage Applies to Every Screen of the Same Size
Panel and feature configurations vary. Use the exact ordered specification.
Using Catalog Wattage to Promise Battery Runtime
Runtime requires battery, installation, mode, and environmental information that a monitor wattage line does not contain.
Selecting Fuse and Cable Sizes from a Blog Example
Protection and conductor sizing require vehicle-specific engineering. This article does not provide a universal value.
Approving a Sample Without Recording Its Configuration
If the production order changes the panel, inputs, recorder function, or accessories, the original power check may no longer apply.
Buyer Checklist
- Vehicle supply and required monitor input range confirmed
- Exact monitor configuration and screen size identified
- Listed power consumption and its test condition requested
- Monitor-only load separated from powered camera channels
- Camera, MDVR, wireless, AI, audio, and alarm loads listed separately
- Typical, maximum, and measured values labeled correctly
- Power-on, normal-view, trigger, split-view, recording, and audio modes included where applicable
- Engine-off requirement documented without an unsupported runtime promise
- Connector, pinout, grounding, and harness plan confirmed
- Fuse, cable, and protection design assigned to the qualified vehicle electrical owner
- Sample bill of materials and settings retained
- Complete system measured on a representative vehicle or bench setup
- Production order tied to the approved configuration
- Unconfirmed startup, standby, or mode-specific values marked for follow-up
FAQ
How many watts does a vehicle monitor use?
There is no single value for all vehicle monitors. Available Xinvisual specifications reviewed for this article list 5W for one 7-inch reference, 8W for one 10.1-inch reference, and 32W for one 18.5-inch roof-mounted reference. Confirm the exact model and configuration before using a value in a system budget.
Is a DC10V-36V or DC12V-36V range the same as power consumption?
No. The range describes accepted input voltage. Power consumption is listed separately in watts. Buyers should record both fields.
Does the monitor's wattage include the cameras?
Not automatically. The reviewed monitor families can use different camera-power arrangements, and the available wattage lines do not define a universal system boundary. Confirm each camera's power source and measure the complete approved system.
Can listed wattage be used to choose a fuse or predict battery runtime?
Not by itself. Fuse and cable selection depend on the complete vehicle circuit, while runtime depends on battery and operating conditions. Use model-specific electrical data and qualified engineering review.
Copyable Configuration Request
Vehicle/application:
Vehicle supply:
Monitor size and video inputs:
Camera quantity and signal format:
Camera power source:
Recorder, wireless and warning equipment:
Required operating modes:
Engine-off operation required:
Connector/pinout and cable lengths:
Sample quantity and planned order quantity:
Available specification or wiring drawing:
Please identify what each quoted power figure includes, its supply point, operating mode and test conditions. List unavailable startup, standby or mode-specific data separately for confirmation.
Request a Vehicle Monitor Power Review
Send Xinvisual the vehicle voltage, monitor size, camera count, recorder or wireless equipment, operating modes, connector plan, and any engine-off requirement. Request a Vehicle Monitor Power Review before approving the sample bill of materials.