

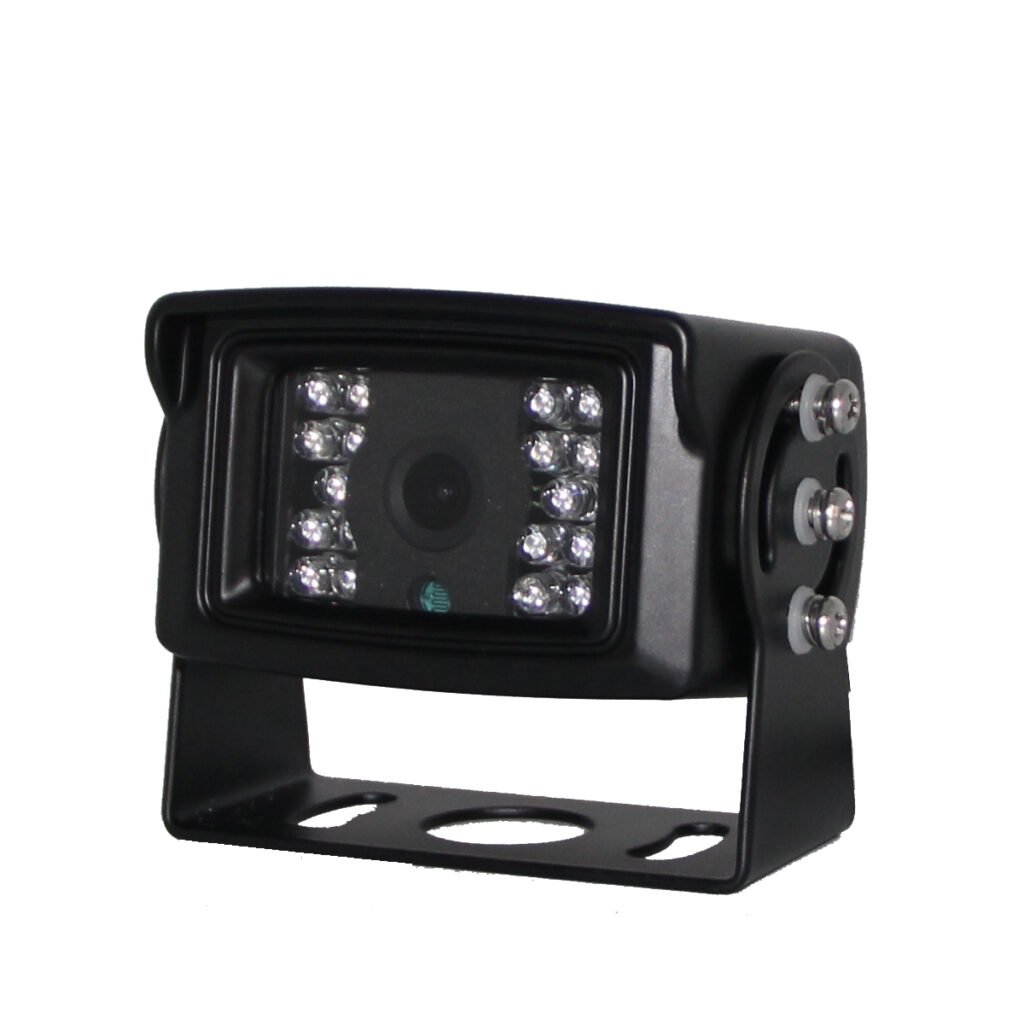
Winter vehicle camera maintenance starts with the picture the driver can actually use. Salt residue, slush, ice and low sun can affect visibility even when a camera still powers on. For truck, bus, refuse and municipal fleets, the useful routine combines a pre-use picture check, cleaning approved for the installed model, and inspection of mounts, cables and connectors.
This guide helps fleet managers, installers and distributors organize those checks and record problems before deciding whether a component needs repair or replacement. Camera views support the driver; they do not replace the fleet’s required mirrors, direct observation or site procedures.
Start winter vehicle camera maintenance with a camera map
Before the season, list each camera’s position, its intended viewing area and its channel on the monitor or recorder. Keep a reference image of the accepted view where practical. A report such as “right-side camera, milky picture after washing” is more useful than “camera problem.”
Assign responsibility for driver checks, cleaning and workshop inspection. The UK Health and Safety Executive’s vehicle inspection and maintenance guidance includes CCTV among visual aids that need attention and recommends following manufacturers’ maintenance guidance. Use this principle within your own fleet procedures and local requirements.
If a required view is obscured or unavailable, follow the fleet’s defect-reporting and operating procedure before continuing a maneuver that depends on it. Do not treat an illuminated monitor as proof that the viewing system is usable.
Check salt, slush and ice at the lens window
Contamination on the front window can produce a smeared or low-contrast picture, particularly against headlights or low sun. Inspect the displayed view as well as the camera itself. Exposure varies with mounting position, route, weather and vehicle washing, so one cleaning interval will not suit every installation.
A practical pre-use picture check
- Check every required channel from the driver’s normal seated position.
- If the picture is dirty or obscured, use the cleaning or ice-removal procedure approved for that exact camera. Follow any drying instructions in that procedure.
- Do not scrape the lens window with a hard scraper or improvise a de-icer, solvent or heat treatment.
- Recheck the picture after cleaning. Record haze that remains, returns repeatedly or appears behind the window.
- Add checks when treated roads, heavy spray, slush or washing affect visibility; use inspection findings to set the routine.
For the cleaning process, see the commercial vehicle camera lens-cleaning checklist. For recurring haze or suspected internal condensation, use the diagnostic questions in why waterproof vehicle cameras fog up. A symptom alone does not establish a sealing defect or warranty decision.
Check the monitor in low winter sun
Distinguish glare on the monitor surface from glare or poor contrast in the camera image. Check from the driver’s seat in the conditions that prompted the complaint, including low sun and night operation where relevant.
- Position and tilt: confirm the display remains readable without obstructing required visibility or controls. Have installation changes reviewed by the installer.
- Brightness: use the controls available on the fitted model. Check daytime readability and nighttime distraction rather than assuming one setting suits both.
- Channel comparison: note whether the problem affects the entire screen or one camera view. This helps direct the next inspection; it does not prove the cause.
- Handover: record any necessary driver adjustment in the operating instructions.
For a future purchase, request brightness and viewing-angle information for the exact monitor and evaluate a sample in the intended cab. Screen size alone does not establish readability, and an unverified generic brightness figure should not become a purchase requirement.
Inspect mounts, cable runs and connectors
Confirm the intended view and secure installation
Check for ice accumulation, physical damage, loose fixings and changes in camera aim. Follow the installation manual for clearing buildup, adjustment and tightening; do not invent a universal torque or force frozen parts.
- Compare each view with the intended coverage or reference image.
- Inspect brackets and fixings for looseness or damage.
- Check cable support, chafing, strain relief and locations where water can collect.
- After an adjustment or nearby repair, verify all required views from the operator’s position.
Repeated movement needs an installation review. The vehicle camera vibration resistance guide explains questions to raise about mounts and the complete assembly.
Inspect connections without assuming the fault
Record visible moisture, deposits, damaged seals or cable damage. Follow the model’s service and isolation instructions before disturbing a connection; sealed assemblies should not be opened as a routine driver check. Do not add contact cleaner, compressed air or grease unless the applicable procedure permits it.
Where the installation allows, have the installer review connectors exposed to direct spray or standing water. Check the whole cable and connection arrangement, including unused or disconnected ends. After an approved wash, confirm every required channel before returning the system to normal use.
The vehicle camera connector guide for fleets covers selection and installation questions. The chemical resistance checklist explains why an ingress rating alone does not establish compatibility with detergents or de-icing chemicals. Confirm exposure limits for the actual camera, cable and connector combination.
Build a condition-based winter inspection schedule
Use the following framework within the fleet’s existing maintenance program. Adjust checks to conditions and the manufacturer’s instructions, rather than adopting a universal weekly or monthly interval.
| When | Who | Task and completion check |
|---|---|---|
| Pre-use checks in winter conditions | Driver | Check all required views; clean or remove ice only by the approved method, then confirm the image is usable. |
| Vehicle washing | Trained driver or yard staff | Follow the camera and connection washing limits; recheck every required channel afterward. |
| Scheduled inspection, severe exposure or nearby repairs | Workshop or installer | Inspect aim, brackets, cable support and connections; record findings and verify views after work. |
| End of winter | Workshop or installer | Inspect the system and review repeat faults by vehicle, position and route before the next order. |
Log maintenance actions separately from unresolved faults, but do not reject a warranty claim simply because dirt or moisture is present. Repeated problems in one position may justify investigating exposure, routing or installation; they do not prove the cause.
Recheck the whole system after startup or repairs
Use the fleet’s normal startup procedure and confirm all required channels, not only the camera that was serviced. For systems that record video, include the following checks at commissioning and after relevant repairs or configuration changes, with routine verification scheduled by the fleet:
- The required channels are recording.
- The date and time are correct.
- Playback shows the expected views.
- The authorized reviewer can export a usable clip.
When a problem appears, preserve a short record before ordering parts. The checks below support triage; they are not a diagnosis.
| Symptom | First checks before replacement |
|---|---|
| Dirty or smeared view | Use the model-approved cleaning procedure, then recheck the picture. |
| Haze behind the window or recurring haze | Record the conditions, location of the haze and whether it clears; follow the fogging diagnostic guide. |
| Flickering or disappearing picture | Record timing, channel, weather, startup and wash history; have the installation, power, cables and connections checked as appropriate. |
| Shifted view | Compare with the intended coverage and have the bracket and mounting checked. |
| Several channels fail together | Include the monitor, recorder, shared power and installation in the investigation. |
Do not open a sealed camera or assign a cause before the evidence is reviewed. Include the vehicle, component models, camera position, affected channel, conditions, a picture of the symptom and any work already completed.
Questions to ask before the next winter fleet order
- Ingress protection: which rating and test conditions apply to the exact model and assembly? What washing limits does the manufacturer specify? Do not translate a rating into unrestricted pressure-washing permission.
- Temperature: what are the documented operating and storage limits for each camera, monitor and recorder?
- Ice management: is a heater or washer documented for the proposed model, and what power and maintenance does it require? Availability must be confirmed; it is not implied for Xinvisual products in this guide.
- Chemical and corrosion exposure: what evidence covers the intended de-icing chemicals, washing products and connector arrangement?
- Startup behavior: how will the complete installed system be checked during the vehicle’s normal cold-start sequence? One component’s wide voltage range does not establish whole-system performance.
- Warranty: Xinvisual’s standard warranty period is one year. Confirm the applicable written coverage, exclusions and evidence requirements for the order; do not assume a winter symptom determines eligibility or a replacement deadline.
IEC 60529 defines degrees of protection provided by enclosures. An ingress rating is not a substitute for separate evidence of operating temperature, chemical compatibility, corrosion resistance or ice-management capability.
Winter vehicle camera maintenance checklist
- Map every camera position, intended view and channel.
- Check the picture during the fleet’s pre-use routine and when conditions affect visibility.
- Use only the installed model’s approved cleaning and ice-removal procedure.
- Check monitor readability from the driver’s seat in relevant daylight and night conditions.
- Inspect brackets, aim, cable support and connections under the service procedure.
- Verify views after washing or repairs, and recording functions where relevant.
- Record repeat faults and use the evidence to refine the next specification.
Frequently asked questions
Does an IP69K rating make a vehicle camera suitable for every winter condition?
No. An ingress rating does not specify an operating-temperature range or confirm the same protection for every cable, connector, monitor and recorder. Check the exact models and installed assembly.
Does an ingress rating prevent ice on the lens window?
No. It does not establish a heating function or guarantee that an exterior window stays free of ice. Confirm any ice-management feature separately and follow the model’s approved procedure.
How often should winter camera checks be performed?
Include picture checks in the fleet’s pre-use routine and add them when spray, slush, washing or repairs affect the system. Set cleaning and workshop intervals from the manufacturer’s instructions and actual inspection findings.
Is an intermittent winter picture automatically a faulty camera?
No. Record the symptom and have the system checked under the approved service procedure. Power, cables, connections, monitor settings and the camera may all need consideration.
What should a fleet send the supplier?
Send the vehicle and component models, camera position, affected channel, date and conditions, a photo of the view, when the problem occurs or clears, and completed inspection or repair steps.
Plan your fleet’s winter camera configuration
Share your vehicle type, camera positions, monitor requirements, routes, washing routine and expected winter temperatures. Contact Xinvisual to review the configuration and the model-specific information needed before ordering.